


In today’s digital age, managing personal files securely and with ease is paramount. A Raspberry Pi 4, coupled with Nextcloud, offers an excellent solution for personal file storage. This guide will walk you through how to set up a Raspberry Pi 4 as a Nextcloud server, ensuring your data is both accessible and secure.
Understanding the Basics: What is Raspberry Pi 4 and Nextcloud?
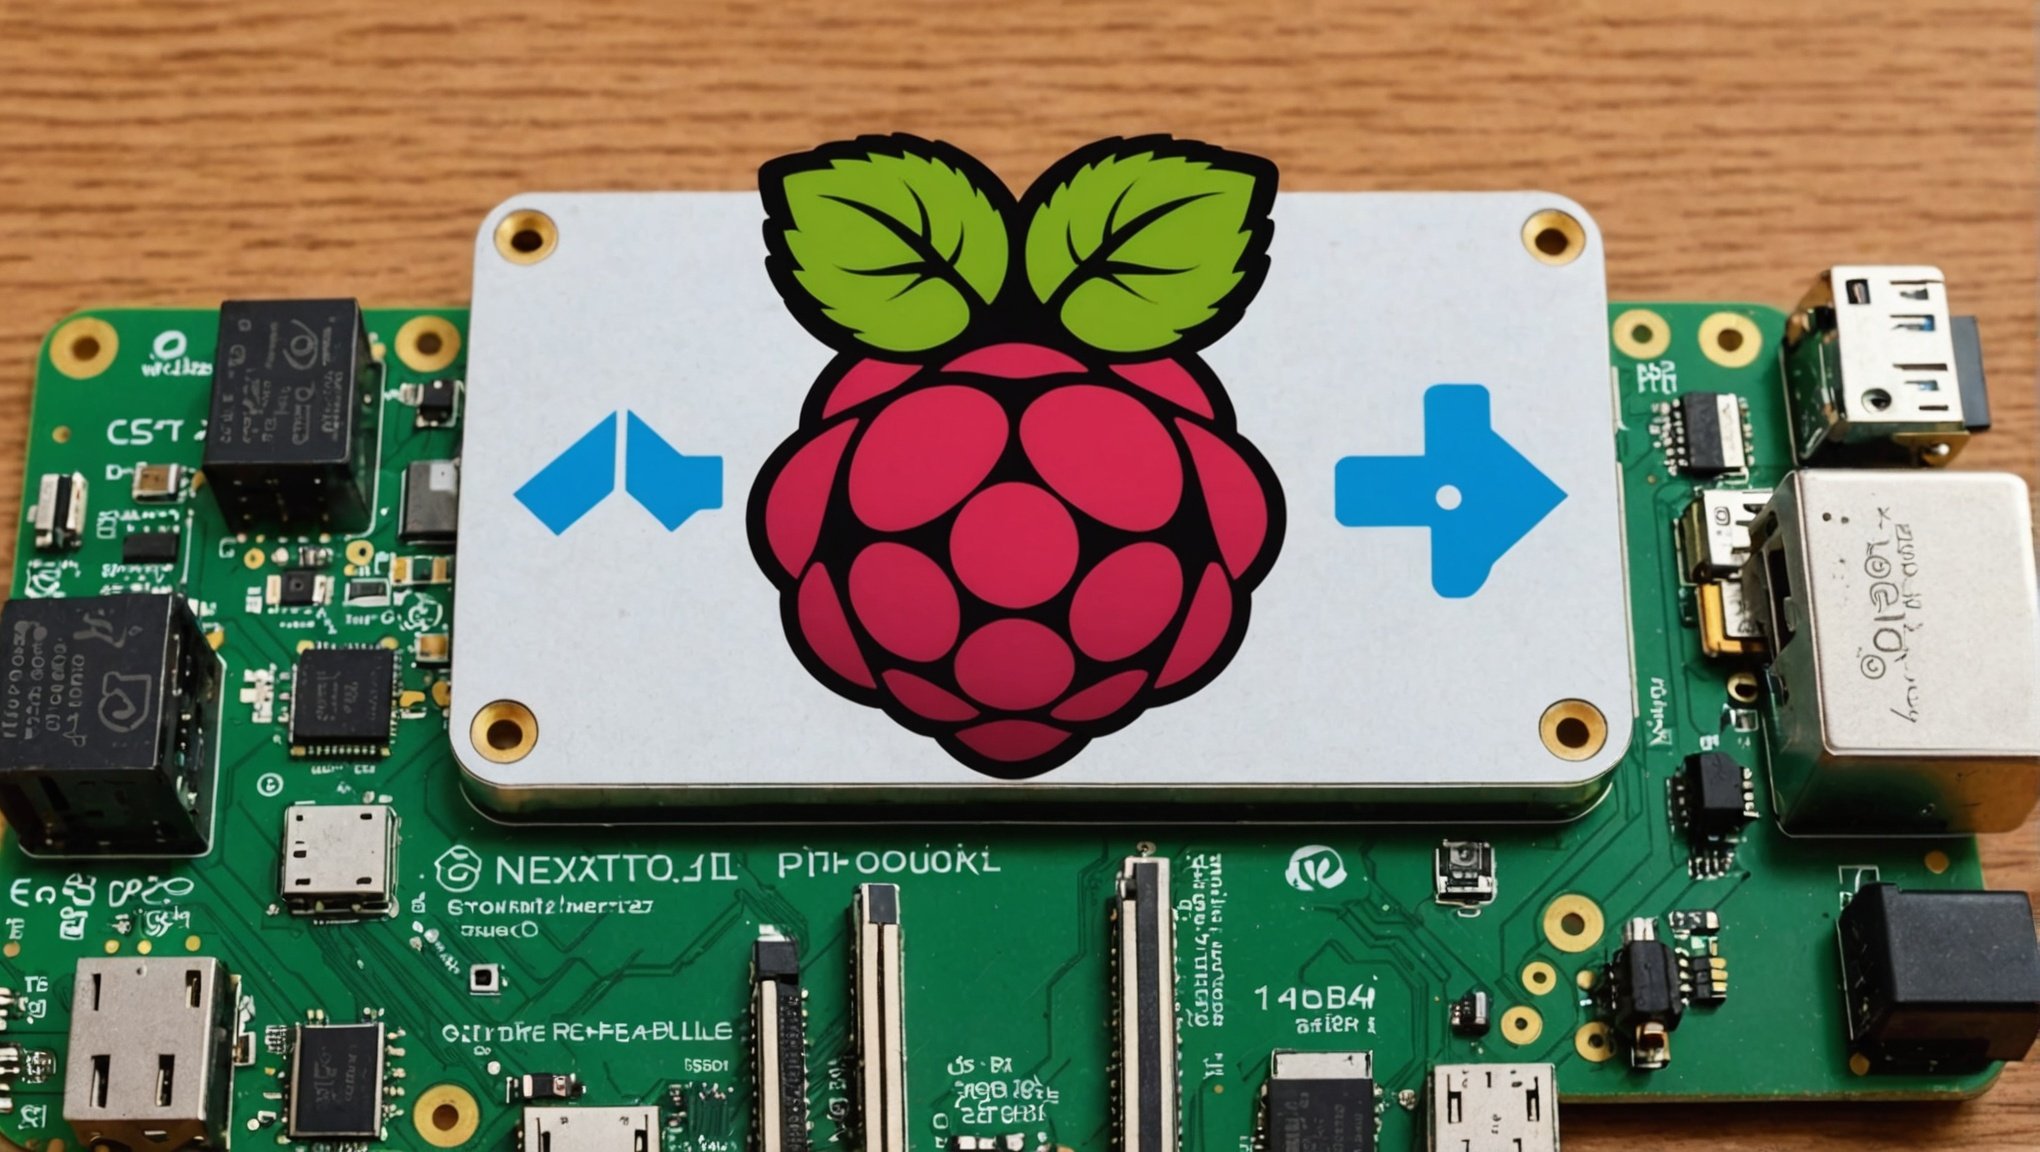
Before diving into the setup process, it’s crucial to understand the fundamental components involved. A Raspberry Pi 4 is a versatile, credit-card-sized computer that can perform a myriad of tasks, from basic computing to complex projects. Its affordability and power make it an ideal choice for setting up a personal server.
In parallel : What are the best practices for configuring a Synology DS220+ for automated daily backups?
Nextcloud, on the other hand, is an open-source software suite that provides file hosting services. It allows users to store and manage files, calendars, contacts, and more, offering a private cloud solution.
Combining these two technologies, you can create a powerful and private file storage system right at home. This setup not only enhances file accessibility but also ensures your data is under your control, avoiding third-party servers.
Additional reading : What are the necessary configurations to set up a secure VPN using a Netgear Orbi RBK752?
Preparing Your Raspberry Pi 4 for Nextcloud Installation
To set the stage for a successful installation, you first need to prepare your Raspberry Pi 4. Here’s a detailed breakdown of the initial steps:
- Gathering the Necessary Components: Ensure you have a Raspberry Pi 4, a reliable power supply, a microSD card (32GB or more), an Ethernet cable or Wi-Fi connection, and a case to house your Raspberry Pi.
- Installing the Operating System: Download the latest version of Raspberry Pi OS from the official Raspberry Pi website. Use software like Balena Etcher to flash the OS onto your microSD card. Once done, insert the microSD card into your Raspberry Pi and power it on.
- Basic Configuration: After booting up, follow the on-screen prompts to set up your Raspberry Pi. Update the system by running
sudo apt updateandsudo apt upgradein the terminal. This ensures the OS is up-to-date, providing a stable foundation for Nextcloud. - Network Setup: Connect your Raspberry Pi to your network via Ethernet or configure Wi-Fi. Network stability is key for a server, so an Ethernet connection is preferable for consistent performance.
By following these steps, your Raspberry Pi 4 will be ready for the Nextcloud installation, ensuring a smooth and efficient setup process.
Installing Nextcloud on Your Raspberry Pi 4
With your Raspberry Pi 4 prepped, the next phase involves installing Nextcloud. Here’s how to proceed:
- Installing Dependencies: Open the terminal and install necessary packages like Apache, PHP, and SQLite. Use the command:
sudo apt install apache2 libapache2-mod-php php7.3 php7.3-gd php7.3-sqlite3. - Downloading Nextcloud: Navigate to the Nextcloud website and download the latest version. Use
wgetto download directly to your Raspberry Pi:wget https://download.nextcloud.com/server/releases/nextcloud-XX.tar.bz2. - Extracting the Files: Extract the downloaded file using the command:
tar -xvjf nextcloud-XX.tar.bz2. Move the extracted Nextcloud directory to your Apache server’s root directory usingsudo mv nextcloud /var/www/html. - Setting Permissions: Adjust the permissions to ensure Nextcloud can access necessary files. Run:
sudo chown -R www-data:www-data /var/www/html/nextcloud. This grants the web server user ownership of the Nextcloud files. - Configuring Apache: Create a new configuration file for Nextcloud in Apache. Use
sudo nano /etc/apache2/sites-available/nextcloud.confand add the necessary configuration. Enable the site usingsudo a2ensite nextcloud.confand restart Apache withsudo systemctl restart apache2. - Finishing the Installation: Navigate to
http://YOUR_PI_IP/nextcloudin your web browser. Follow the on-screen setup instructions to complete the installation. You’ll create an admin account and configure the database in this step.
Following these detailed steps, Nextcloud will be installed on your Raspberry Pi 4, transforming it into a powerful, personal cloud server.
Enhancing Security and Performance
Setting up your Nextcloud server is just the beginning. To ensure optimal performance and security, consider the following practices:
- Enabling HTTPS: Secure your Nextcloud server by enabling HTTPS. Obtain a free SSL certificate from Let’s Encrypt. Install Certbot using
sudo apt install certbot python3-certbot-apacheand follow the prompts to secure your site. This encrypts data transmission, protecting your files from eavesdroppers. - Regular Backups: Data integrity is crucial. Implement a regular backup strategy using tools like rsync or Nextcloud’s built-in backup options. Store backups in a separate location to prevent data loss in case of server failure.
- Resource Management: Monitor and manage your Raspberry Pi’s resources to ensure smooth operation. Tools like htop can help you track CPU and memory usage. Adjust Nextcloud’s settings to optimize performance based on your usage patterns.
- User Management: If sharing the server with others, manage user permissions carefully. Nextcloud allows granular control over who can access, modify, or share files, enhancing both security and usability.
- Regular Updates: Keep both your Raspberry Pi OS and Nextcloud up-to-date. Regular updates patch vulnerabilities and introduce new features, maintaining the server’s security and efficiency.
By implementing these enhancements, you’ll maintain a robust, secure, and efficient Nextcloud server, ensuring your personal files are always safe and accessible.
Leveraging Additional Nextcloud Features
Once your Nextcloud server is up and running, explore its extensive features to maximize its utility. Here are some additional functionalities to consider:
- File Synchronization: Nextcloud offers desktop and mobile clients for seamless file synchronization. Install these clients on your devices to keep files updated across platforms automatically.
- Collaboration Tools: Utilize Nextcloud’s collaboration features, such as shared calendars, contacts, and tasks. These tools can help manage personal and professional schedules, ensuring everything is in sync.
- Third-Party Apps: Nextcloud’s app store offers a plethora of third-party applications. From document editors to project management tools, these apps can extend the functionality of your server, tailoring it to your needs.
- Media Streaming: Store and stream media files directly from your Nextcloud server. Apps like Nextcloud Music and Video Player can turn your Raspberry Pi into a personal media hub, accessible from anywhere.
- Security Features: Explore additional security features like two-factor authentication and end-to-end encryption. These measures provide extra layers of security, protecting your data from unauthorized access.
By leveraging these features, your Nextcloud server becomes more than just file storage – it transforms into a comprehensive personal cloud solution.
Setting up a Raspberry Pi 4 as a Nextcloud server for personal file storage offers a blend of affordability, security, and functionality. By following the detailed steps outlined in this guide, you can harness the power of these technologies to create a robust and personal cloud server. From initial setup to enhancing security and exploring additional features, every step contributes to a more secure and efficient file management system.
Ultimately, this setup not only keeps your data under your control but also provides a versatile and expandable platform for various personal and professional applications. Embrace the potential of Raspberry Pi 4 and Nextcloud, and enjoy the benefits of a seamless, private cloud experience.